


We have a youngster who has been obsessed with trains since he was two, if not younger. While there are plenty of highly-marketed toys available to keep him entertained, we’ve opted for some less expensive choices. Do you have any ideas to share as well?

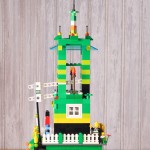
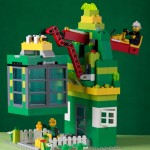
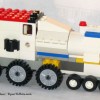
LEGO train of our own design

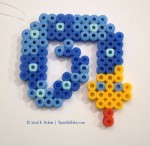
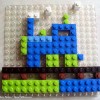
Homemade paper block train card
")
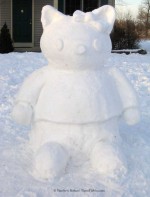
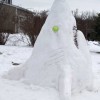
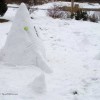
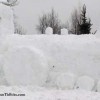
Front yard snow train

Same train, side view

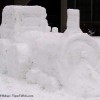
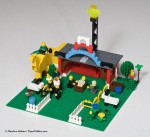
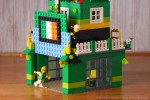
DIY cardboard roundhouse for wooden trains (see instructions below)

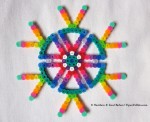
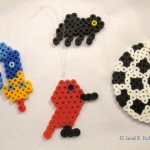
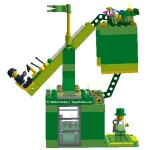
LEGO Mosaic train

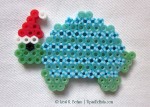
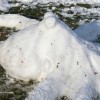
Toy block train
DIY Roundhouse for Wooden Trains: How Matt Did It
Here’s how Matt created the roundhouse shown above using a cardboard box, X-Acto knife and staples as follows. Note that these directions have been slightly modified from his original approach to simplify the process. Clear shipping tape can be used instead of staples and is recommended for reinforcing the interior seams.
The Main Building
- Place the track pieces for each engine that will housed in the roundhouse in a fan shape on the large, flat side of a cardboard box, like the five straight pieces holding the engines above. This one used five because that’s the number of pieces that will attach to one side of our turntable.
- Use a pencil or pen to trace the lower and upper curve of the “fan” as well as its sides. Leave a little extra room on the upper (back) curve for the back of the roundhouse, depending upon how large you want it to be, and leave about 4 inches on the left and right flat sides, which will serve as the sides of the roundhouse.
- Carefully cut out the traced shape and fold down the 4-inch sides.
The Front Panel
- Carefully cut a piece of cardboard 4 inches tall and 4 inches wider than the smaller (front) curve of your fan. This will serve as the front of the roundhouse.
- Starting 2 inches in from each side, divide the remaining space into 5 equal parts, drawing faint vertical lines to separate each section.
- Fold/crease the piece forward on each of those vertical lines so that the whole panel curves forward.
- Draw an arched doorway on each of the 5 sections, and draw a center line on each doorway.
- Carefully cut through the center line of each door and across the top curve of each arch, and then fold the doors outward on each “hinge.”
- Curve this piece to fit the front of the roundhouse, placing it about 1 inch under the outer edge of the top to provide support and an overhang (eaves).
- Fold each side of the front piece back 2 inches and attach with staples (or shipping tape) to the sides of the roundhouse (inside or out).
- Reinforce the top/front seam with shipping tape inside the structure.
The Back Panel
- Carefully cut a piece of cardboard 4 inches tall and 4 inches wider than the larger (back) curve of your fan. This will serve as the back of the roundhouse.
- Curve this piece to fit the back of the roundhouse, placing it about 1 inch under the outer edge of the top to provide support and an overhang (eaves).
- Reinforce the top/back seam with shipping tape inside the structure.
Final Touches
Allow children to decorate it with markers as they see fit. Note: It’s easier to use markers on the front panel right after step 2, before cutting and folding the panel and doors.
Our kids loved this piece, and we loved that it was perfectly functional and didn’t cost a fortune.
If you give it a try, have fun and be careful! (And let me know if I need to clarify any of the steps above.)
Content and images © Matthew and Liesl K. Bohan | TipsnTidbits.com


Do you have more information on the DIY roundhouse you made? My son would love something like that.
Thanks for asking, Momof4! I added Matt’s directions above. Please let me know if you need clarification on anything. Good luck, have fun, and let me know how it goes! – Liesl